Male Skin Fade Haircut: Everything You Need to Know Before Your Next Appointment
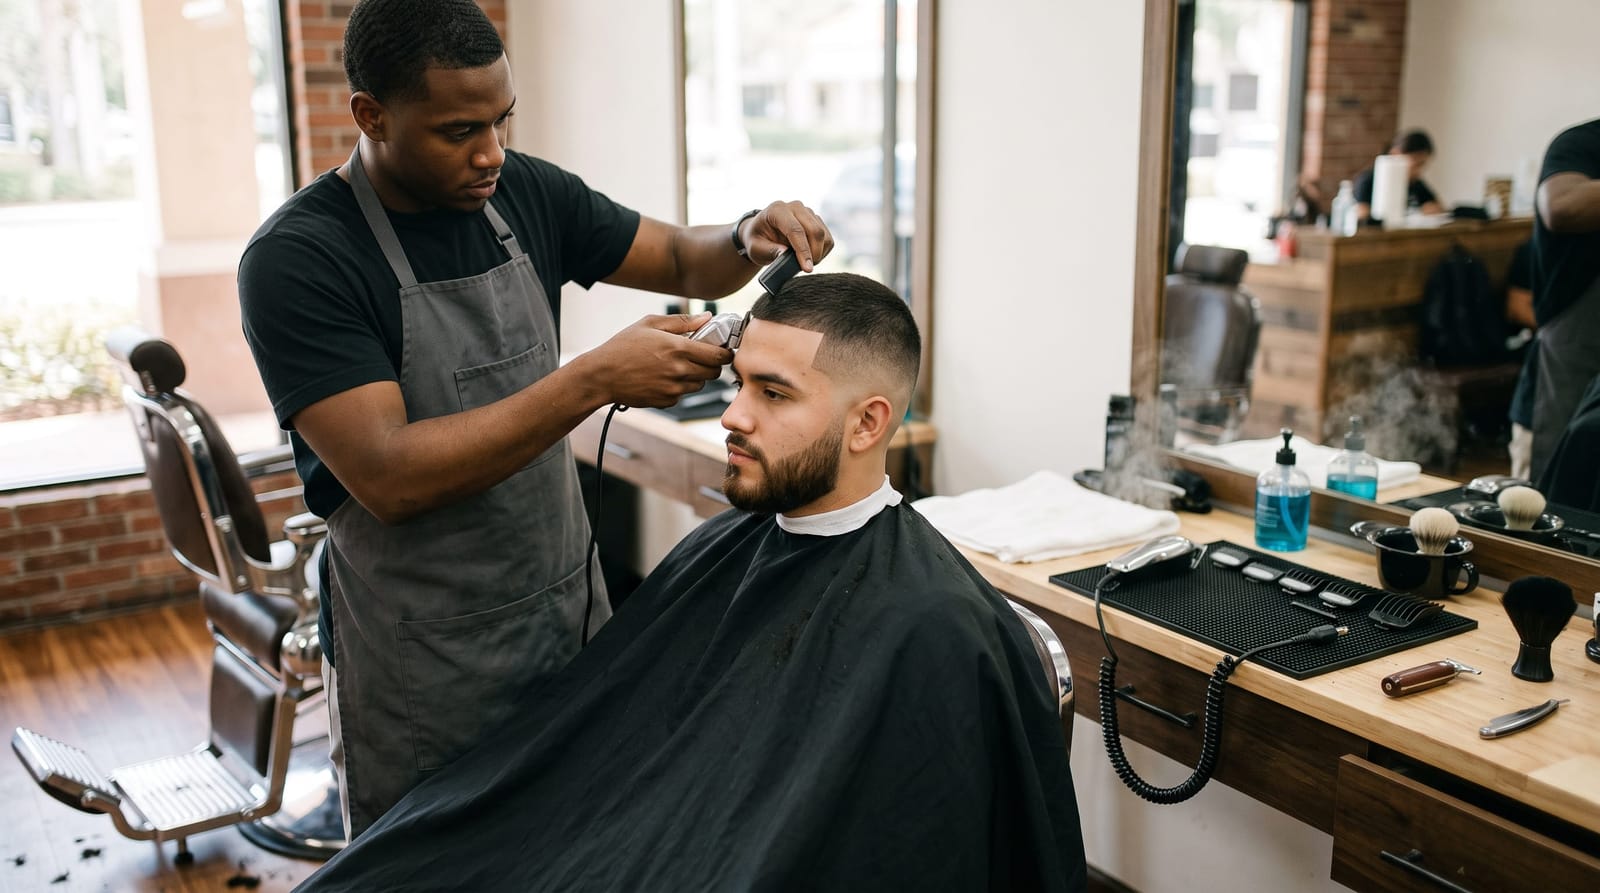
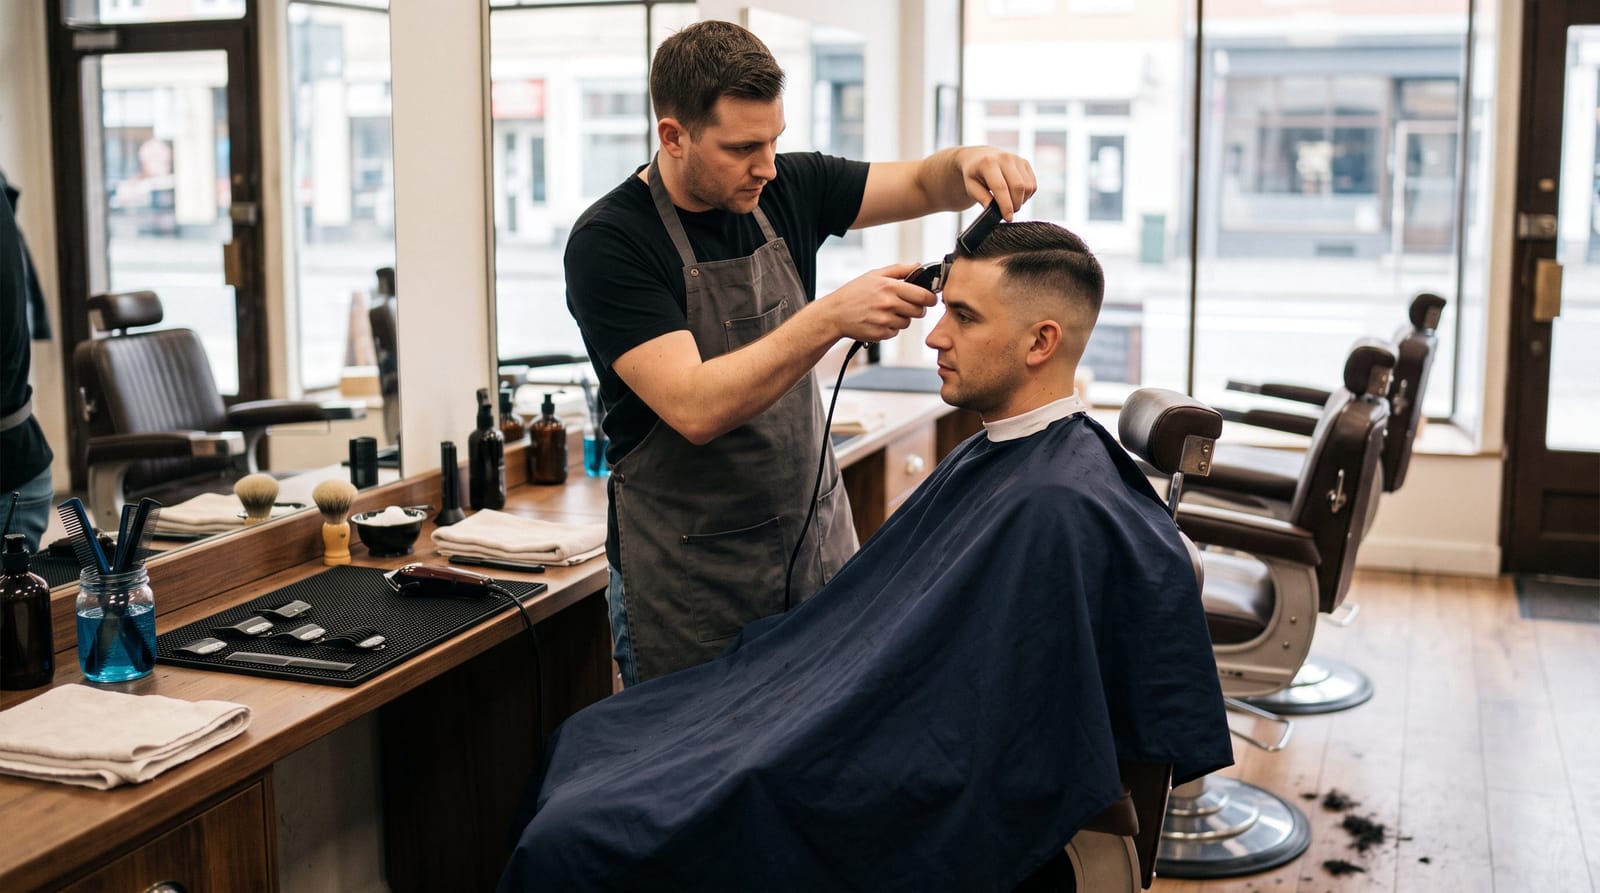
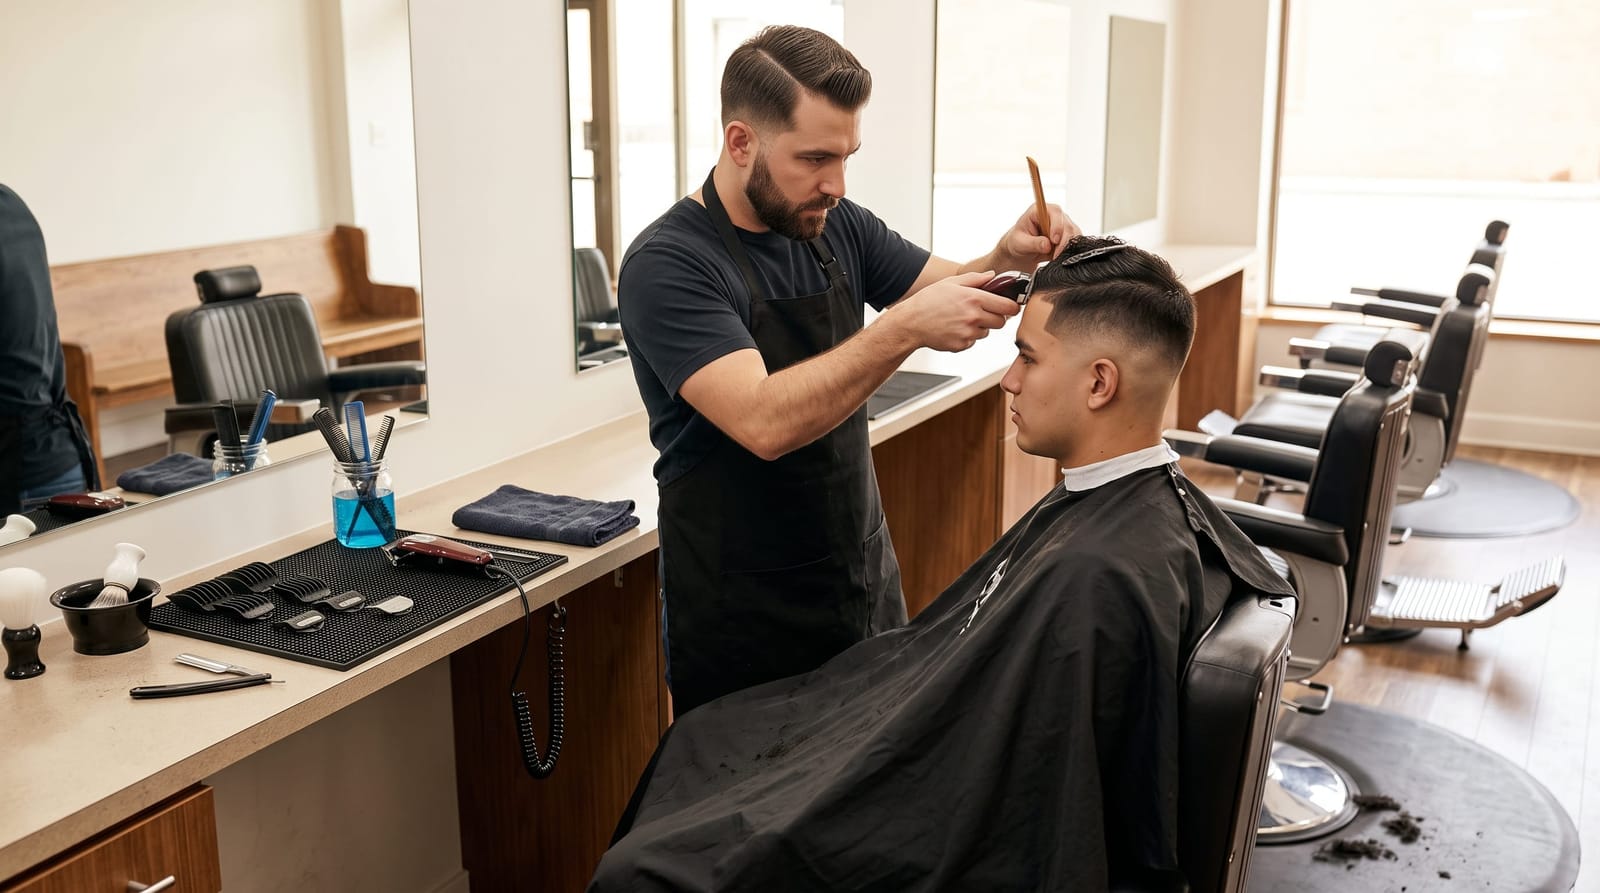
A male skin fade haircut takes the sides and back down to skin, then gradually blends into longer hair above. The main decisions are how high the fade sits, how much length stays on top, and how often you want to refresh the finish. Get those details clear, and your barber has a much better starting point than “short on the sides.”
Within the wider range of men’s haircuts and skin fades, this cut stands out for its clean contrast and precise blending. It can support a subtle, everyday style or a more defined look without locking you into one hairstyle.
This guide explains low, mid, and high skin fades, what happens during the cut, how the look changes as it grows, and what to discuss before the clippers start.
What Makes a Haircut a Skin Fade?
The defining feature is the shortest section: it reaches skin rather than leaving a visible layer of clipped hair. Above that section, the barber builds a gradual transition into longer lengths. Forte Series’ overview of skin fades describes this skin-to-longer-hair blend and identifies low, mid, and high versions.
A skin fade describes the sides and back, not the entire haircut. You still choose what happens on top: a textured crop, curls, a crew cut, a side part, or longer swept-back hair.
Skin Fade vs. a Fade That Leaves Hair
Not every fade reaches skin. A barber can blend from a short clipper length into longer hair while leaving coverage at the bottom. That creates a softer starting point with less exposed scalp.
If you want the close finish, say “down to skin.” If you prefer some hair left around the ears and neckline, explain that instead. A guard number alone does not describe the whole fade.
Skin Fade vs. Taper
Barbers and clients sometimes use these terms differently. In a typical consultation, a taper means a more localized transition around the sideburns and neckline, with more coverage remaining through the sides. A full fade carries the transition farther around the head.
Because terminology varies, a reference photo plus a clear description is more useful than relying on a haircut name alone.
Low, Mid, or High: Choosing Your Fade Level
Fade height describes where the transition sits. It does not tell the barber how long to leave the top, whether to add a fringe, or how sharply to define the hairline. Treat those as separate decisions.
Low Skin Fade: Keep More Coverage
A low skin fade keeps the exposed-skin area closer to the ears and lower neckline. More hair remains through the upper sides, giving the haircut a fuller outline.
This is a useful direction if you like a clean finish but do not want the sides to look dramatically stripped back. It can complement curls, a side part, or a longer top where retaining some side weight helps connect the shape.
The tradeoff is that upper-side bulk still needs attention. A low fade does not automatically make thick sides sit flat; the barber also needs to shape the hair above the blend.
Mid Skin Fade: A More Noticeable Contrast
A mid skin fade places the transition between low and high. It reveals more of the sides while leaving room to connect into the top.
It is a useful option when you want the fade to be a visible part of the haircut without taking it close to the upper sides. A textured crop, short quiff, or defined curls can all work with this approach.
“Mid” is not an exact measurement. Ask your barber to indicate the intended height before cutting, particularly if your reference photos show different interpretations.
High Skin Fade: Strong Definition
A high skin fade brings the transition farther up the sides, leaving less side coverage and making the top more visually prominent.
This can suit someone who wants a distinctly close-sided shape. The tradeoff is reduced flexibility: once the side length is removed, changing to a lower fade requires growing that coverage back.
Head shape and the connection to the top matter here. Removing side weight can make an existing shape more noticeable rather than simply making the haircut look shorter.
For a closer comparison, explore low fade vs. mid fade vs. high fade before choosing your reference pictures.
Match the Fade to Your Hair and Daily Routine
Skin fades can be adapted to different hair textures, but the same reference image will not produce the same appearance on everyone. Density, growth direction, and the contrast between hair and skin all affect the result. The useful question is not “Can I copy this exactly?” but “Which parts of this shape work with my hair?”
Straight Hair
Decide whether you want the top to fall forward, part to the side, or lift away from the forehead. Short, upright growth at the upper sides may need a different connection than hair that naturally lies flat.
If you rarely style your hair, explain that. A cut designed around a blow-dried quiff may not give you the same outline when left to dry naturally.
Wavy, Curly, and Coily Hair
Discuss the shape of the top as carefully as the fade. Keeping width at the temples creates a different outline from taking those areas tighter, even when the skin section starts at the same height.
For curls and coils, describe the length you want to see when your hair is dry. Ask how the barber plans to connect the fade without removing more of the surrounding shape than you intended.
Fine Hair or Uneven Density
A close fade changes the contrast between the sides and top, but it does not add density. Ask how the proposed height will balance the hair you have rather than expecting the cut to recreate a much thicker reference style.
Photos with a similar texture and density usually give a more realistic basis for the conversation.
Think Beyond Face-Shape Rules
Rules such as “this face shape needs that fade” can be too rigid. A better consultation considers the full outline: width at the sides, height on top, fringe placement, and facial hair.
For example, keeping more side coverage and wearing a lower top creates a different balance from pairing very tight sides with a tall quiff. Ask your barber to explain that tradeoff using your current haircut.
How a Skin Fade Is Done
There is no single mandatory cutting sequence. Barbers use different tools and methods, but the work generally involves planning the shape, establishing lengths, blending transitions, and refining the finish.
- Agree on the plan. Confirm fade height, skin exposure, top length, neckline, and any connection to facial hair.
- Establish the overall shape. The barber removes excess length and determines how much weight to retain above the fade.
- Create the shortest area. Depending on the method, close-cutting tools establish the skin section.
- Build the blend. Clipper lengths, lever adjustments, and detailing techniques soften the transition from short to long.
- Connect the upper sides and top. This prevents an unintended shelf of weight above the fade, unless a disconnected style is the agreed goal.
- Refine and finish. The barber checks the outline, remaining dark bands, and the way the top falls when styled.
The craft is in controlling those transitions, not simply cutting the bottom very short. At Florida Fadez, the emphasis on clean, high-quality cuts is best expressed through that attention to shape, blending, and the client’s preferred finish.
What to Look for in the Finished Cut
A deliberate skin fade has a transition that fits the agreed design, rather than an obvious, unintended stripe between lengths. The sides and back should work together, and the top should look connected, or intentionally disconnected, rather than unfinished.
Natural density and head shape can affect how a blend looks from different angles. Before leaving, use the final check to ask about any area that seems heavier than expected or any length you wanted to keep.
How Long Does a Skin Fade Last?
A skin fade does not keep its freshly shaved appearance throughout the grow-out. As hair returns in the skin section, the contrast softens. The haircut may still look tidy after it stops looking freshly faded.
There is no single refresh interval that fits everyone. The practical factors are:
- Your preferred finish: Maintaining a nearly bare lower section calls for more frequent upkeep than accepting visible regrowth.
- Hair growth and contrast: Regrowth can look more noticeable on some hair-and-skin combinations than others.
- Fade height and overall shape: The amount of exposed skin and retained side weight influence how the cut changes.
- The top: A fade can need attention before a longer top needs reshaping.
Instead of choosing a schedule blindly, notice when the cut stops looking the way you prefer. A photo of that stage gives your barber a useful reference for planning maintenance.
Our guide to how long a skin fade lasts looks more closely at the difference between keeping the skin finish fresh and maintaining the whole haircut.
What to Ask Your Barber
Bring a small selection of photos showing the front, side, and back when possible. Explain what you like in each one: the low placement, the texture on top, or the amount of coverage around the temples. Photos that show only the front leave much of the fade open to interpretation.
Here is a hypothetical request:
“I’d like a low skin fade, with coverage kept through the upper sides. Keep enough length on top to wear it forward with texture. I don’t want much height, and I usually style it quickly by hand. Can you show me where the fade will sit?”
That gives the barber a level, a shape, and a realistic styling routine.
- Confirm the shortest length: Skin or some visible hair?
- Confirm the top: What stays, what comes off, and which direction will it sit?
- Discuss the outline: A natural hairline and a sharply defined edge are different preferences.
- Explain past dislikes: “The fade went too high” is useful information.
- Ask about grow-out: Which part is likely to lose its shape first?
For more consultation examples, see what to tell your barber for a skin fade, especially if this is your first time going down to skin.
Keeping the Look Clean Between Visits
Most daily styling happens on top. Ask your barber to demonstrate the finish with a routine you will actually use. A matte textured style, defined curls, and a slicker finish call for different product choices and techniques.
Start with a small amount of styling product and assess the result before adding more. Too much can obscure texture or leave the top flatter than intended. The amount that works depends on your hair length and the product.
Trying to recreate the blend at home can move the fade higher or introduce a visible line. If the transition bothers you, discussing a refresh is generally more predictable than repeatedly shortening it yourself.
If very close cutting has previously caused irritation, mention that during the consultation and discuss leaving some length instead. A licensed dermatologist can advise on persistent irritation or other scalp concerns; a haircut consultation is not a medical assessment.
Plan Your Next Appointment Around the Finish You Want
The strongest starting point is simple: choose your fade height, explain how you wear the top, and be honest about maintenance. Precision matters, but so does having a cut that fits an ordinary workday, not just the moment it is styled.
If you are fitting a visit into a busy Fort Lauderdale schedule, ask about current walk-in options and expected waits rather than assuming immediate service. Booking ahead is another option to discuss when timing matters.
Book your appointment with Florida Fadez and bring a reference for the clean, fresh finish you want.